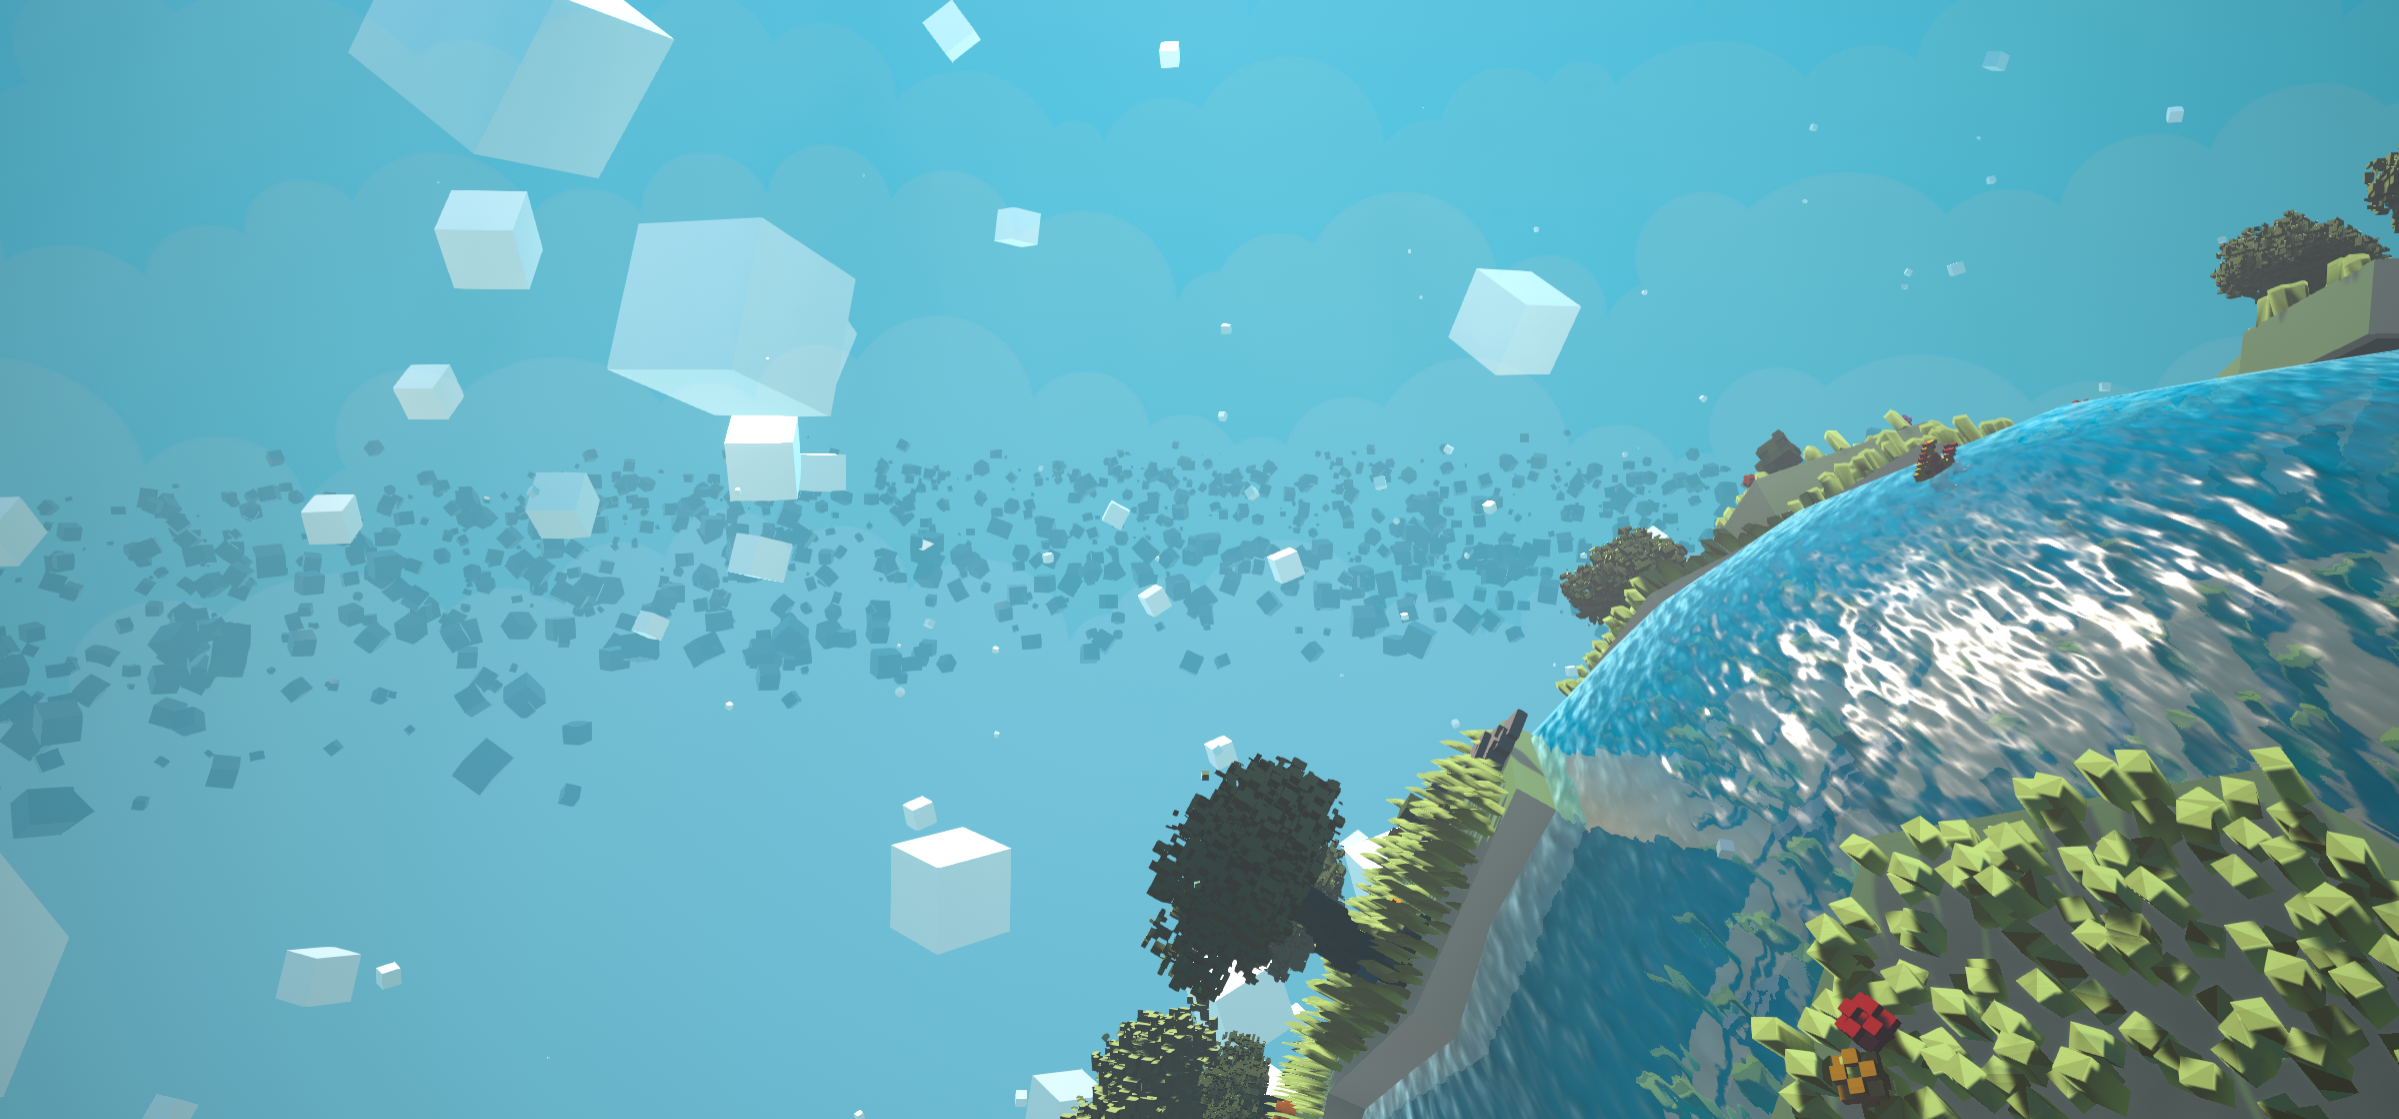
Welcome to my first post!
Here I’m going to talk about my journey through the land of game development, specifically for my game Tiny Turtle Tanks. In making this blog, I hope to pass along some of the knowledge that I’ve learned and document the process of the making of this game. (Mostly so I don’t forget it.)

I also want to share tips and tricks to all of the different ‘islands’ that lie around game dev land. There is so much to creating a game, besides just making it. For example making music, marketing, and even creating this here website.
Steps for creating this devblog
First a little tutorial, so I can recreate this in the future. This website is created using Jekyll for layouts, and hosted using Github Pages. I decided to use this path since I wanted to fast way to create new blog posts, and I wanted to host it for free. Besides a few painful installation moments, GH-Pages and Jekyll work extremely well together and matched all my requirements, so here we go.
Resources
Creating a new site
- The first thing I had to do was set up the environment where I would store all of the files for this site. This site it going to be used primarily for my game and my game alone. And since I already had a repository setup on GitHub for it, I decided just to continue using that.
- If you go under your repo, to Settings
- Under Settings find the GitHub Pages section
- You can select a source to determine where your files should be stored on your repo.
- Master branch for when your entire repo is the site
- /docs folder for when you want to seperate your site from your other info (My method)
- Alt branch for complete code seperation
- Don’t change the theme here for now (this button is for the basic GH-Pages users)
- You can select a source to determine where your files should be stored on your repo.
- After a link should pop up with your freely hosted site. (Ex: https://joesobo.github.io/TinyTurtleTanks/)
- Currently the site is empty, however
- You can of course put normal HTML and CSS in the /docs folder and treat it like any normal website
- To make it easier on myself, though we will use Jekyll
- Go through their install process, installing Ruby, gems, and bundle as you go
- Once install navigate to your /docs folder in the terminal
- Run this command to instantiate jekyll:
jekyll new . - This should populate your /docs folder with all of the nessesary info to start your site!
- Comment out
gem "jekyll", "~> 4.1.1" - Uncomment
gem "github-pages", group: :jekyll_pluginsto active GH-Pages ability to build your site - You can push the new code up to your repo to see it on your GH-Pages (This process can take a few minutes)
- Alternitively for faster coding iterations, you can host the site locally using:
bundle exec jekyll serve --watch- Navigate to localhost:4000/{repo}/
- (Ex: localhost:4000/TinyTurtleTanks/)
- Congrats! Go to your URL and see your working site now. (It should just be the default Jekyll homepage)
Overview of the file structure:
- _config.yml - A configuration file used for storing basic information used in templates
- Requires link to base url - Ex: /TinyTurtleTanks
- Requires link to url - Ex: https://joesobo.github.io
- _layouts - Holds templates of base HTML pages for easy customization
- _posts - Markdown files used for quickly creating blog posts
- _site - Holds the generated files that are actually rendered
- Don’t edit these! They are only for the server.
- If this folder isn’t showing try running:
jekyll build
- Gem file - Where you manage which versions you are supposed to run
Editing the site
- Navigate to your gems installation folder (Ex: C:\Ruby27-x64\lib\ruby\gems\2.7.0\gems)
- You’ll be able to see a list of folders with possible themes. I chose architect (jekyll-theme-architect-0.1.1)
- In _config.yml change the theme to the proper name
- theme: jekyll-theme-architect
- In the gem file comment out:
gem "minima", "~> 2.5" - Replace the commented out line with your chosen theme and its version:
gem "jekyll-theme-architect", "~> 0.1.1" - Most of the themes are old and require a little bit of editing, so copy the entire contents of the theme from the /gems folder and paste it into your /docs
- This also helps since you need to upload the theme to GitHub in order to actually see it on your GH-Pages
- Should contain a _layouts folder, _sass folder, and an assets folder as well as a README.md
- Since the _layouts folder is outdated, I copied in the home, page, and post.html files from the minima folder (The default theme).
- This helps give the layouts so the pages can actually be loaded
- Within /assets/css you can find all of the styles used to format your site
- For the
architect themethe print.scss contains all of the styles - The style.scss file is for you to make custom edits and changes to make the theme your own
- For the
- Now you have all the pieces you need to get started. Try playing around with style.scss file, design new layouts, and create posts quickly in markdown.